The properly applied plaster is the foundation of beautiful and durable walls — it levels, protects, and prepares for paint, decorative finishes, or tiles. Improper plaster, on the other hand, leads to cracks, "craters," crooked corners, and unnecessary waste of paint and putty. Here you will find a practical guide: types of plasters, substrate preparation, execution time, common mistakes, and how to choose the right craftsman.
Types of Plaster in Brief
• Interior plaster: levels brick/autoclaved aerated concrete/concrete; serves as a base for putty and paint.
• Exterior plaster: more resistant to climate, often used in systems with thermal insulation.
• Mineral/lime-cement: "breathable," good for humid rooms and facades.
• Acrylic/silicone/silicate: fine texture, elasticity, excellent for facades (better crack resistance).
• Decorative plasters: "woodworm," "scratched," structural and Venetian effects for interior and exterior.
Tip: the choice depends on the substrate, microclimate, and final vision. A good offer describes the exact type of plaster + technology.
Preparation is the foundation: half of success
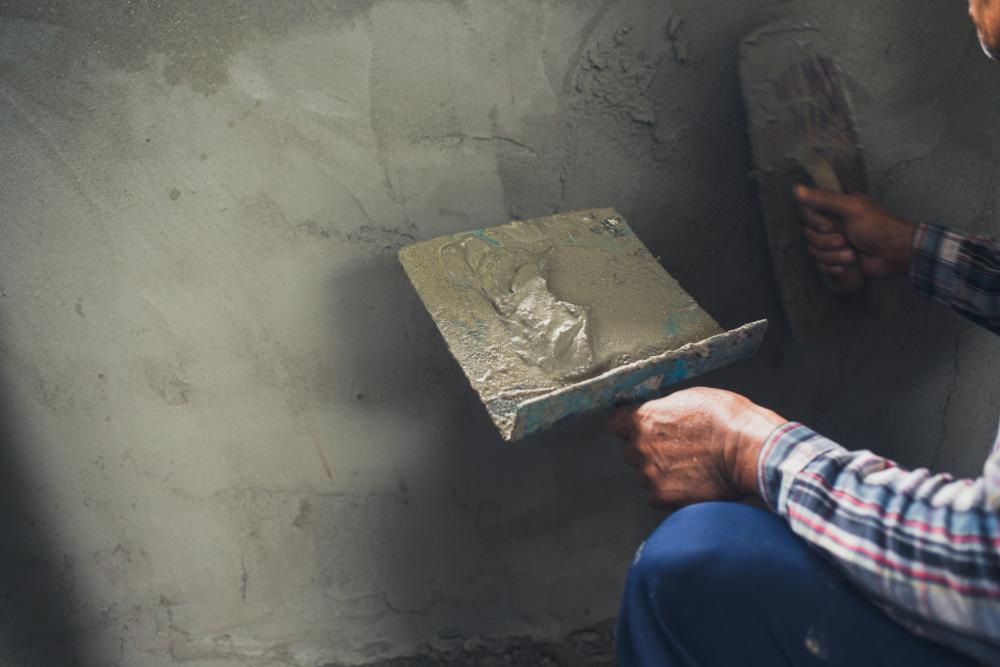
For quality plastering, the base must be strong, clean, and have adhesion: removal of dust/oils, elimination of loose areas, leveling of rough defects, priming, and, if necessary, using guides for flat surfaces. In corners and transitions, a reinforcing mesh is often used to prevent cracks.
💡 Useful reading: Myths about specialists: it's time to get informed, not to guess — brief debunking of "it will happen that way too".

Process and execution time
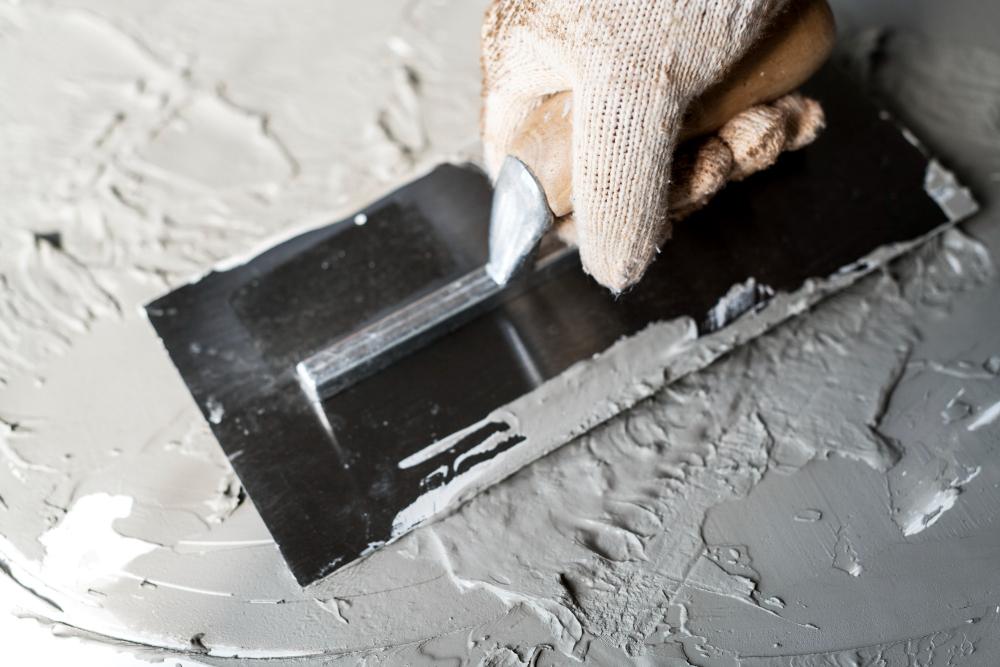
The usual order is: preparation → base layer (if necessary) → main plaster → putty (fine leveling) → sanding → paint primer.
• How long does it take? A small room can be plastered in 1–2 days (without drying), but the actual time depends on thickness, humidity, and temperature. Mineral plasters require more time to dry, while polymer (acrylic/silicone) ones dry faster.
• When should we apply the putty? After the plaster has set according to the manufacturer's instructions and the wall is dry throughout; early putty application on a "wet" base leads to blisters/cracks.
More about planning: What happens when the master chooses you – the unexpected side of the platforms — how the selection and communication work on platforms like ours.
Common mistakes (and how to avoid them)
• Skipping the primer. Leads to poor adhesion and peeling.
• Too thick a layer at once. Uneven drying → joints and "bulges".
• No guides/plane control. You get crooked walls and corners.
• Saving on materials. Incorrect mix or cheap product = low durability.
• No control over climate/humidity. Drafts and direct sunlight "dissolve" the edges and cause cracking.
⚠️ Attention: "quick" exterior plaster on a damp facade almost guarantees a network of fine cracks after the season.
How to Compare Offers Fairly
Request a breakdown: preparation (cleaning, priming, guides), type of plaster, brand/series, thickness, drying time between layers, finish (putty, edge protectors), floor/window protection, waste removal, warranty. Compare not only the price but also the stages, materials, timelines, and adjustments.
📌 Related topic: Designer vs. Foreman: When to Listen to Aesthetics and When to Reality — useful when choosing finishes and details for edges/baseboards.
When does it make sense to use decorative plasters
Decorative plasters ("woodworm," "scratched," structural, Venetian) are ideal for accent walls and facades. They conceal minor defects, are resistant to mechanical influences, and provide a finished texture on facades. However, the base still needs to be straight — decorative finishes are not a "panacea" for uneven surfaces.
Small case study: why a good foundation saves money
In a living room with "torn" old plaster and a crooked ceiling, the team suggested straightening with putty only in certain areas. Result: visible waves in daylight and corners that "run away." After a month – a repeat order with guides and corrections to the corners. Conclusion: the right technology the first time is cheaper than corrections.
How to choose the right master
• Portfolio "before/after" and real objects with right angles/flat surfaces.
• Offer with technology (type of plaster, thickness, drying, puttying).
• Communication and timelines: clear explanation, room plan, furniture/floor protection.
• Warranty and acceptance: checklist, protocol for hidden works, photos.
Conclusion:
The quality application of plaster is an investment in appearance, durability, and future savings (less paint, fewer repairs). Choose a technology that "fits" the base and conditions, request a transparent quote, and work with verified specialists — this way, the walls remain even and beautiful for years.