You are planning a refresh, but before the "new" you need to remove the old – tiles, panels, suspended ceilings, windows, doors. This is where quality demolition work makes the biggest savings: it protects you from hidden damages, excess noise/dust, and "surprises" in the budget. In this article, you will see what professional demolition looks like, how the price is formed, which mistakes to avoid, and when additional preparation of the base makes sense.
What do quality dismantling works include
The professional team begins with an inspection, safety plan, and property protection: covering floors and furniture, dusting the area, turning off electricity/water if necessary, and marking pathways. Dismantling of drywall (and reference "drywall dismantling price" in the quotes), removal of wall panel installations, removal of old plaster or compromised sand plaster, dismantling of sanitary fixtures/cabinets, safe removal and sorting of waste. In wet areas and bedrooms, sound insulation for walls is often encountered – care is taken here to preserve or anticipate a new solution.
💡Tip: If there are glass showcases/mirrors, plan for coordination with glass services for safe removal and possible reinstallation.
The true cost: what the budget depends on
The price is not just "per square"; it depends on access, floor, type of flooring, type of adhesive/plaster, presence of sound/thermal insulation, need for cutting, waste separation, and elevator/stairs. Sometimes, targeted demolition + foundation preparation is more cost-effective than "quick demolition" followed by expensive corrections later..
Helpful: see how precise questions save misunderstandings– Why do the services at Ofertirai.me start with a question instead of a fixed offer?
Mini case
Removal of an old drywall ceiling without assessing the profiles → deviations in levels and torn plaster. Result: additional plastering + leveling, delays in painting services, and higher costs than the "savings.".
How to compare dismantling offers
Request a breakdown by stages
1. Property protection (covers/plastics, dust collectors).
2. Controlled removal (tiles, panels, drywall, sanitation).
3. Removal of sand plaster/old plasters as needed.
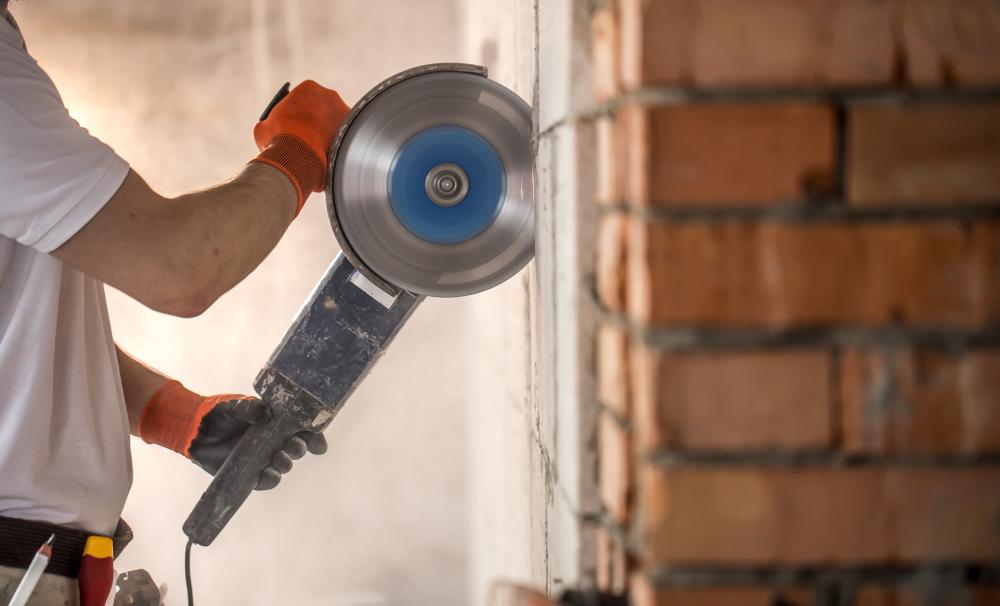
4. Milling/cutting (if necessary) with dust extraction.
5. Collection, removal, and transportation of construction waste (described quantity).
6. Preparation of the base for the "next stage" (priming, temporary leveling).
7. Warranty and Terms
How to compare offers fairly
Request a breakdown by stages
1. Dismantling and preparation of the opening (straightening if necessary with the installation of drywall).
2. Leveling of the frame, anchors/screws, proper foam and seals.
3. Threshold and pads (without contact with the wing).
4. Finish: trim and restoration of plaster/paint.
5. Adjustment of hinges/strike and test for closing/sound insulation.
6. Waste removal + warranty.
Add dimensions, materials, and 6–8 photos to the inquiry. This way, you receive comparable offers, not "apples to oranges."
More on the topic: Myths about specialists: it's time to get informed, not to guess.
When is it logical to combine dismantling + preparation
• The walls are crooked/fragile: after removing the cladding, plan for corrections with new plaster or the installation of wall panels (if the project allows it).
• Noise to neighbor/street: after removing the old cladding, consider soundproofing for the wall.
• Ceiling with deviations: after the dismantling of the suspended ceiling, choose leveling or new drywall (then painting services follow).
Myth/Fact:
Myth: "Dismantling is just demolition—there's nothing that can go wrong."
Fact: Poor dismantling damages installations, window frames, and foundations. It ends up being more expensive than precise dismantling.

Safety and Cleanliness: The Invisible Value
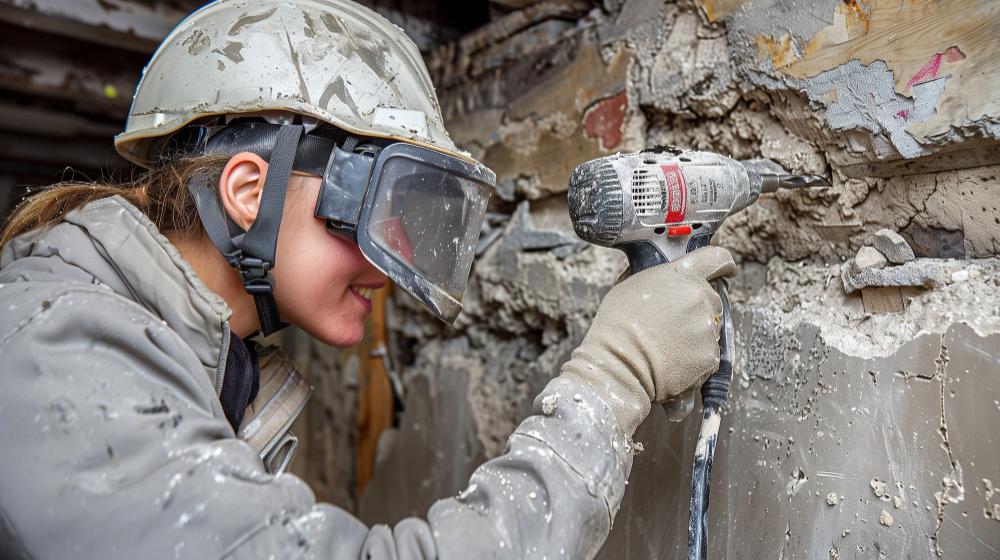
The team must work with personal protective equipment, limit dust (especially in inhabited dwellings), and observe the routes of electrical/water supply. Good practice includes a daily end with cleaning of corridors/elevators. This is not an "extra," but part of the professional service.
Quick action plan
1. Describe the scope: which areas, what materials are you removing (tiles, drywall, panels), are there any plaster finishes to be removed.
2. Add photos and approximate sizes.
3. Indicate access (elevator/floor), working hours, waste disposal.
4. Request offers with stages, techniques, and timelines; compare 2–3 proposals.
5. Provide for temporary leveling of the base so that you do not stop the next stages.
Conclusion
The demolition is the foundation of a successful renovation: it saves damage, saves time for the next crews, and makes the budget predictable. Choose a team that works cleanly, safely, and with a clear breakdown of activities – this way, the old leaves painlessly, and the new comes without surprises.